Security settings: password, two-factor authentication, and active sessions
The Security tab is where you harden your account. Three sections: change password, two-factor authentication, and active sessions. This page walks through each one.
Getting there
- Click Account Settings in the sidebar.
- Select the Security tab.
Change password
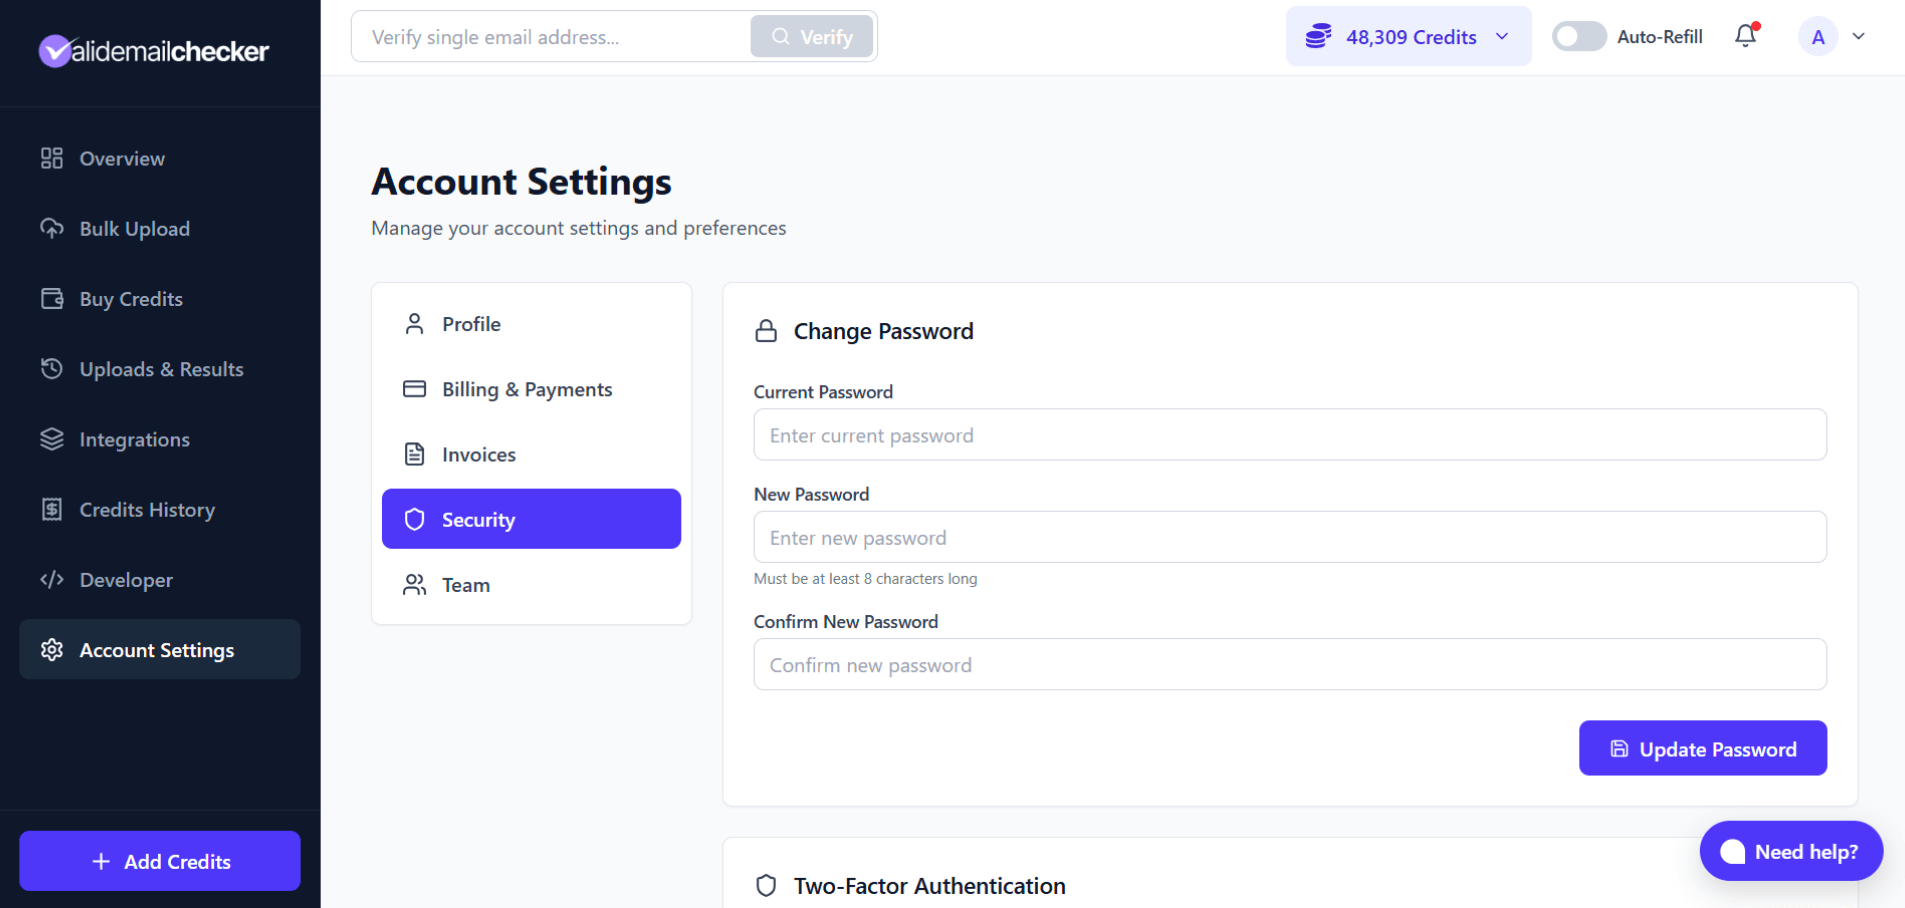
- Enter your Current Password.
- Enter your New Password (minimum 8 characters).
- Re-enter the new password in Confirm New Password.
- Click Update Password.
Two-factor authentication
2FA requires a second factor on top of your password at sign-in. Even if someone has the password, they cannot get in without the second factor. Worth turning on for any account that touches billing or production data, which yours does.

Authenticator app (recommended)
Use any TOTP-compatible app — Google Authenticator, Authy, 1Password, Bitwarden, Microsoft Authenticator. The app generates a 6-digit code that rotates every 30 seconds.
Setup:
- Click Enable next to Google Authenticator.
- Scan the QR code with your authenticator app.
- Enter the current 6-digit code from the app to confirm.
- Save your backup codes immediately — somewhere safe and offline.
Email authentication
Simpler to set up — no app needed. A 6-digit code arrives at your account email on each sign-in. Setup:
- Click Enable next to Email Authentication.
- A verification code goes to your account email.
- Enter the code to confirm.
Which method?
| Method | Security | Convenience |
|---|---|---|
| Authenticator app | Higher — codes generated offline on your device | Requires the app on your phone |
| Good — tied to your email account | No extra app |
Disabling 2FA
- Click the method you want to disable.
- Type
DISABLEin the confirmation field. - 2FA is removed from your account.
Disabling is permanent until you re-enable. Think twice before turning it off on an account with anything important on it.
Active sessions
The Active Sessions section shows every device and browser that has signed into your account. Use it to spot anything unfamiliar.
How sessions work
Valid Email Checker uses a single-active-session model. When you sign in on a new device or browser, your previous session is automatically terminated. This means only one session is live at any time — extra protection if a device walks off.
What you see
| Column | Description |
|---|---|
| Device | Device type (Windows desktop, MacBook, iPhone, Android, etc.) |
| Browser & OS | Browser name and OS version |
| Location | City and country derived from the IP |
| IP Address | Source IP for the session |
| Status | Current Session or Terminated |
Your current session has a This Device badge.
Session history
By default, only the current session is shown. Click Show Inactive Sessions to see terminated entries. They are kept as a history of past logins so you can audit.
Removing a session record
To delete a record from the history (the session itself was already terminated when you signed in elsewhere — this just removes the bookkeeping entry):
- Click Show Inactive Sessions.
- Find the row you want to remove.
- Click the trash icon.
When to review
- You see a login notification you do not recognize.
- You want to confirm where you have signed in from recently.
- A location or device in the history looks unfamiliar.
- You suspect someone may have accessed your account.
If anything looks off, change your password and enable 2FA immediately.
Security best practices
- Long, unique passwords. Use a password manager.
- Enable 2FA. A leaked password alone should not give someone in.
- Glance at sessions periodically. Unfamiliar locations are worth investigating.
- Sign out on shared computers. Just closing the browser is not enough.
Common questions
I forgot my password.
Use the password reset flow from the login page.
I lost my authenticator app.
Use one of the backup codes you saved at setup. Each works once. If you have none left, contact support@validemailchecker.com from your account email — we manually verify identity before disabling 2FA on the account.
Why do I see logins from different locations?
IP-based geolocation is fuzzy. VPNs, mobile networks, and ISP routing all distort the apparent location. If the device and browser look familiar, it is almost always just imprecise geo data.
Can I require 2FA for team members?
Each user enables 2FA individually. There is no account-wide enforcement today. Team members can turn 2FA on from their own Security tab.
How long do sessions stay active?
Until you sign in elsewhere (which terminates the previous one), or you sign out manually, or the session naturally expires from inactivity. Terminated sessions stay in the history for review.
Quick reference
| Feature | Where to find it |
|---|---|
| Change password | Security tab → Change Password |
| Enable 2FA | Security tab → Two-Factor Authentication |
| View sessions | Security tab → Active Sessions |
| Show terminated sessions | Active Sessions → Show Inactive Sessions |
| Disable 2FA | Click the enabled method → type DISABLE |
Next steps
Related questions
Still stuck? Email support